


 China Import and Export Fair
 Focus On Products
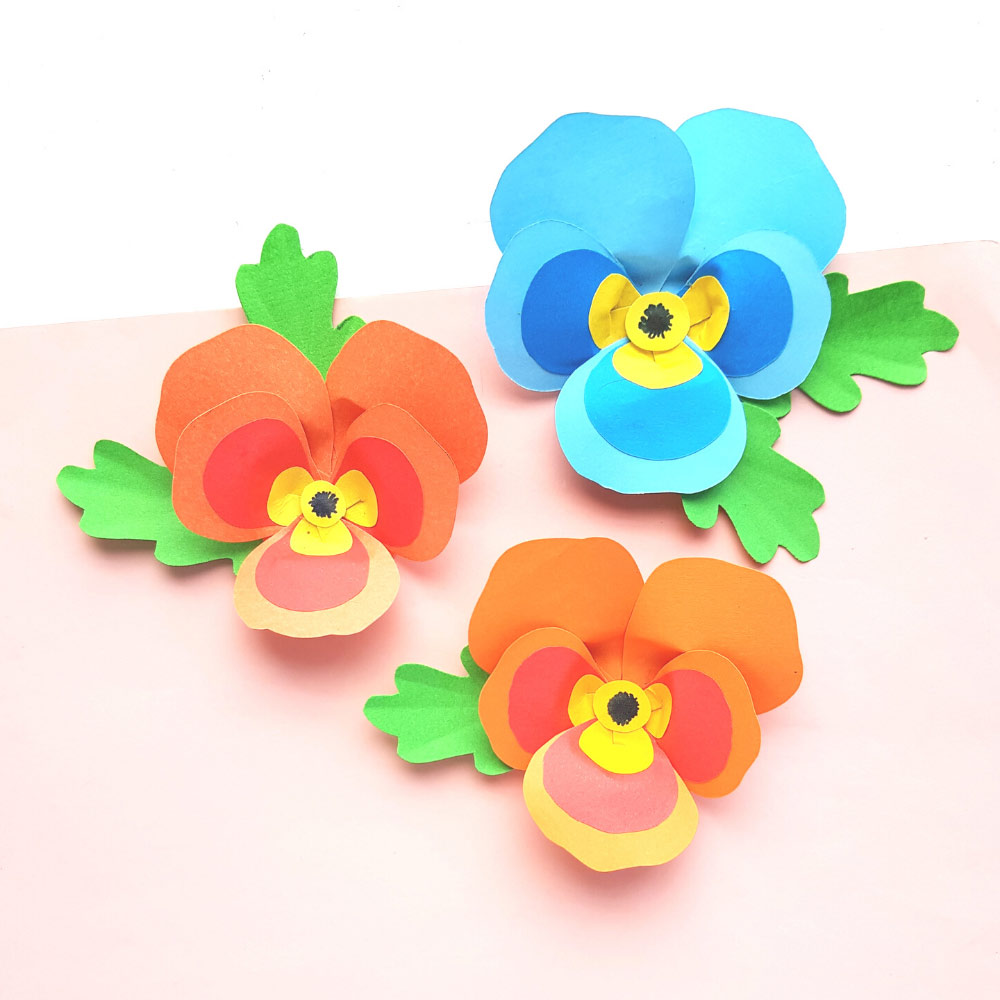
1. Grab the medium and small petals of the 1st layer and attach the 2ndand 3rd layer petal patterns on them taking care to arrange the petals perfectly.
2. Cut a 1cm slit from the bottom middle part of each petal. Apply glue oneither side of the slit.
3. Overlap the other side of the slit over the glued part and join themtogether nicely. Similarly, prepare the rest of the petals.
4. Hold the bottom side of the petal firmly and slightly fold the top part towards the opposite direction to give the petal a curved shape.
5. Cut out a small round paper for the base.
6. Grab the 2 big petals (the plain petals) and attach them on the base side by side, near the border of the base.
7. Now attach the small petals on both sides of the big petals, keep them adjacent.
8. Attach the medium petal on the remaining space between the 2 small petals, on the base.
9. Attach the small circle cutout in the center of the flower pattern tocomplete the paper pansy craft.
10. That's it! Your paper pansy is ready! Super easy right?