Hello, friends, I’m glad to meet you on our website. Now that the weather is cooling down, remember to keep warm.
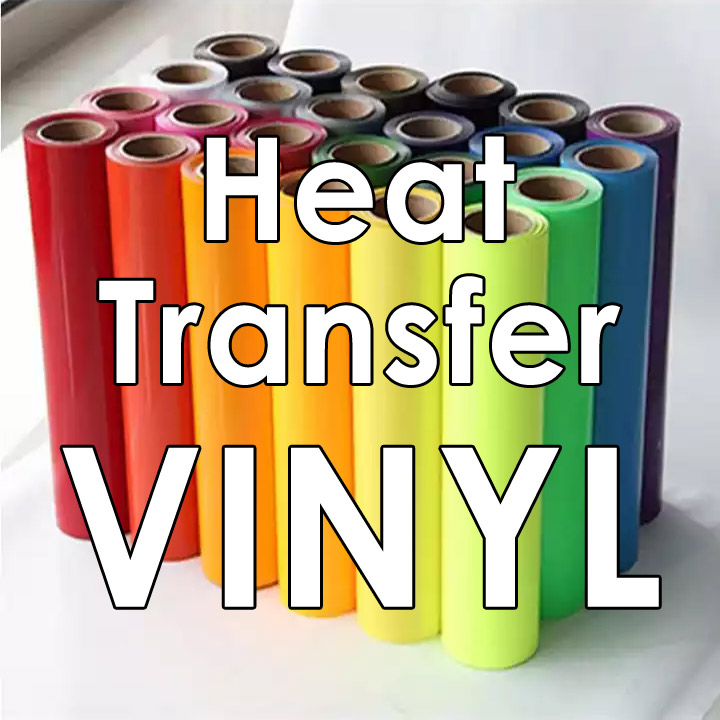
We need to take notes in a notebook, is to strengthen our memory of knowledge, and review old news. Or some people like to write down in a notebook what happens every day, whether it's funny or bad. Ok, today’s tutorial is about heat transfer vinyl. Did you know you can apply heat transfer vinyl to leather? It’s true! This simple technique is a fun way to customize leather gifts like this DIY monogrammed leather notebook.
Today I am joining some of the other Expressions Vinyl ambassadors in a little heat transfer vinyl challege! The rules are pretty simple. Basically, we could make anything we wanted as long as we used heat transfer vinyl.
I remembered this little fact when I was brainstorming HTV project ideas and thought lettered leather notebooks would be a lot of fun and also make kind of an awesome gift. So, I pulled out my iPad pro and apple pencil and got to sketching. All kinds of patterns are good, you can choose the pattern you like.
If you want to make your own little DIY lettered notebook, I’ve got you covered. I will walk you through everything you need to know to apply heat transfer vinyl to leather. Ready to get making?
DIY Monogrammed Notebook Supplies:
Leather notebook
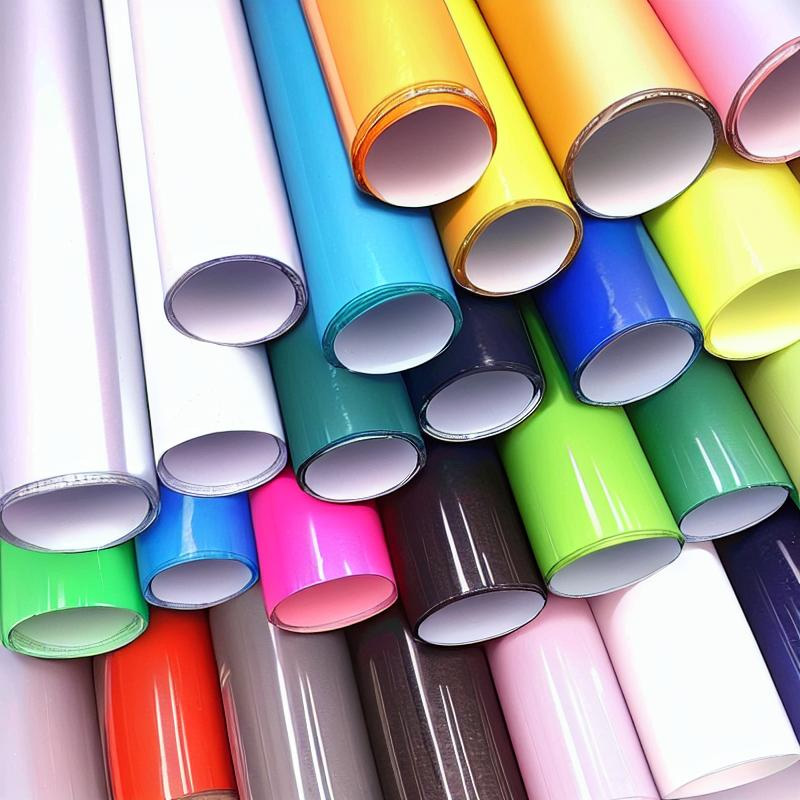
heat transfer vinyl
Iron
Weeding tool
Silhouette or other electronic cutting machine
Cover sheet
My letter design
All right, let's get started. Applying heat transfer vinyl to leather is simple and honestly very similar to applying heat transfer material to any other surface. Here are the basic steps:
1. Mirror Image and Cut
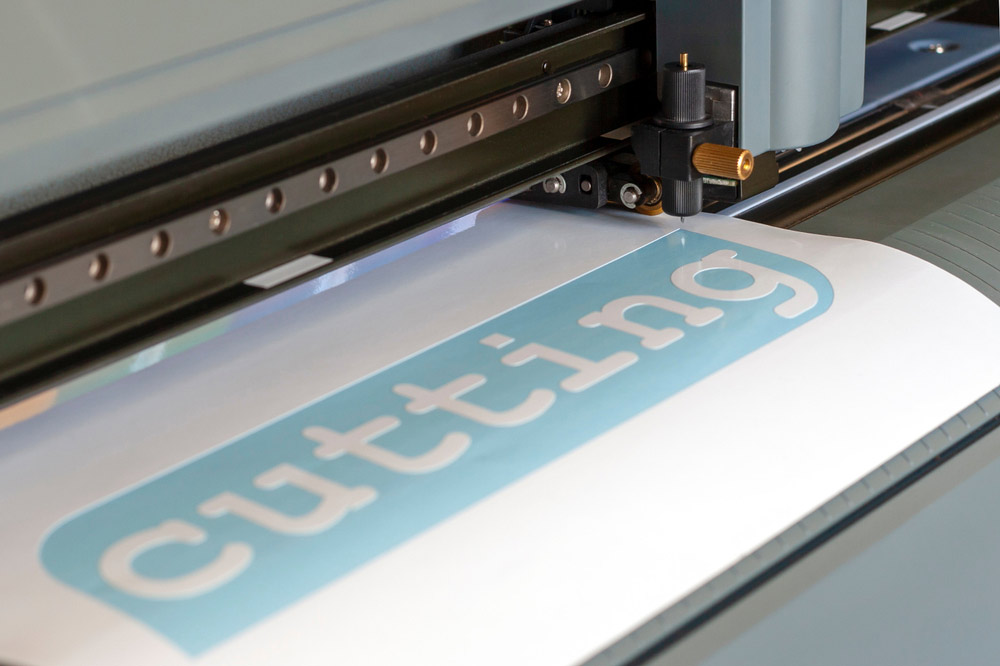
The first step is to mirror your design in your cutting software. Heat transfer vinyl is cut on the back side of the material, so your design has to be flipped in order to read properly when applied. If you are using Silhouette Studio like me, select the design, then go to Object > Mirror > Flip Horizontally. Next, select the correct material from the Send tab, make any necessary changes to the cut settings, and send it to the machine.
2. Weed
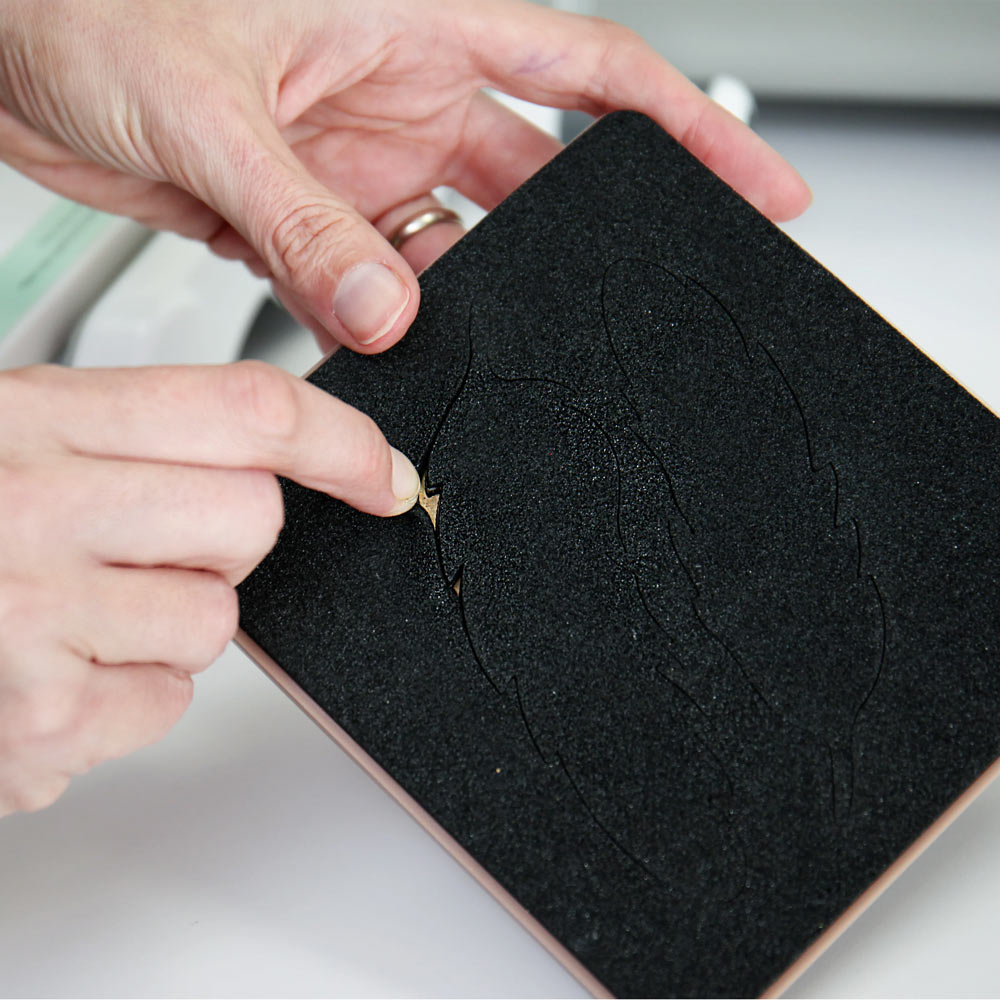
After your design has cut, you will need to remove the excess heat transfer vinyl from the carrier sheet. This process is called weeding. I really love and recommend this weeding tool It has a nice sharp point, which makes it perfect for picking up all those little pieces. Once you have all the excess vinyl removed, you are ready to apply your design to the leather.
3. apply
Turn your weed design upside down so that the sticky side of the carrier paper is facing down and your image flips back the right way. Put it on your notebook (or whatever surface you're going to use it on). Turn off the steam and iron the cotton thread with an iron. (No steam is important, especially when working with leather! You'd better not have water in the iron. Otherwise the water will stain and damage the surface of your leather.
Place a covering over the decal to protect the leather surface (thin cotton, parchment, or multipurpose paper will work). Place the iron on top of your design and press hard for 10-15 seconds. Slowly peel off the support sheet, making sure the vinyl is attached. If you can see the texture of the leather through the vinyl, then you have a good application. If you need to give the vinyl more heat, be sure to use a cover. Never use a hot iron directly on the HTV, or it will cause it to melt and you will be sad.
And that’s it! Your awesome custom leather notebooks are all ready for your deepest thoughts or for gifting to your dearest friends. I really like the way these notebooks come out, it gives me a little bit of a sense of accomplishment, and doing this kind of craft work can make my life more interesting and colorful.
Okay, thanks for joining us.
If you are looking for more tutorials, please stay tuned on our website www.adhesivevinyl.net.
Bye~


 China Import and Export Fair
 Focus On Products