


 China Import and Export Fair
 Focus On Products
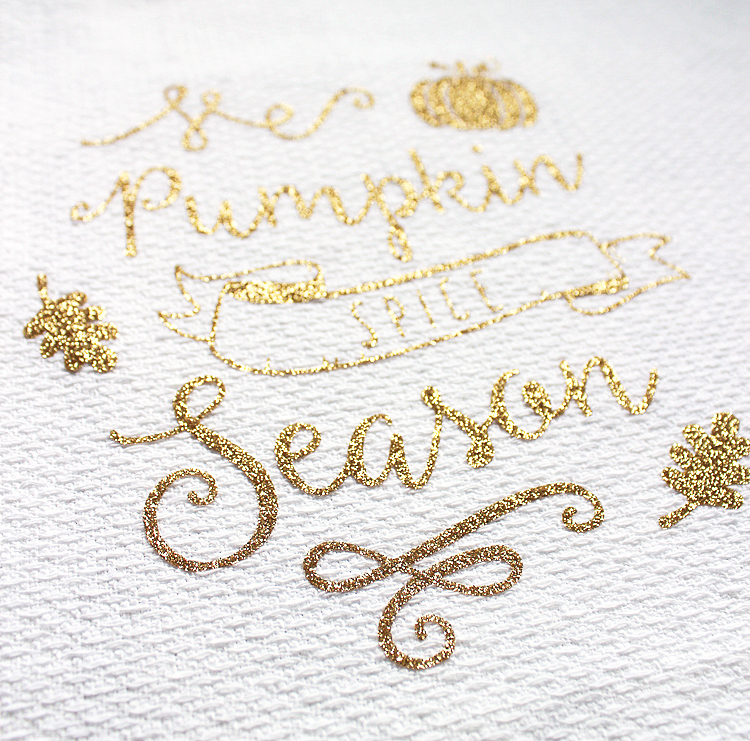
")
Step 1: To start, download the free templates found at the bottom of this post. One is a png file and one is a Silhouette file. If you have a Cricut machine (or if the Silhouette file won’t open properly for you), download the png, open it in the design software and use the trace feature to outline the shapes.
Step 2: Scale your design to fit on your tea towel, then MIRROR THE IMAGE! Don’t forget this step or your words will be backwards! Once the image is mirrored, adjust the cut settings to blade – 4, speed – 4, thickness – 18.
Step 3: Insert the HTV into the machine with the shiny side down, then send the design to be cut. The photo below shows the HTV being cut with no mat, but I usually use one just to be on the safe side.
Step 4: Carefully weed the design. Peel off all of the big pieces of extra vinyl first… then use a straight pin or weeding tool to remove the little pieces.
When I think I’ve weeded all the pieces, I like to flip the image over to check for anything I might have missed. It’s easier to see on the front side.
")
Step 5: Center the design on your tea towel, cover with a piece of clean paper or heat transfer cover sheet and iron with firm pressure at 325°F for 10-15 seconds.
")
Step 6: Peel away the clear plastic while it’s still hot.
")
I think you’ll be amazed at how sparkly this HTV is in person. It’s so pretty!
The suggested washing instructions are machine wash gentle and hang to dry. Don’t forget to download the cut files below!