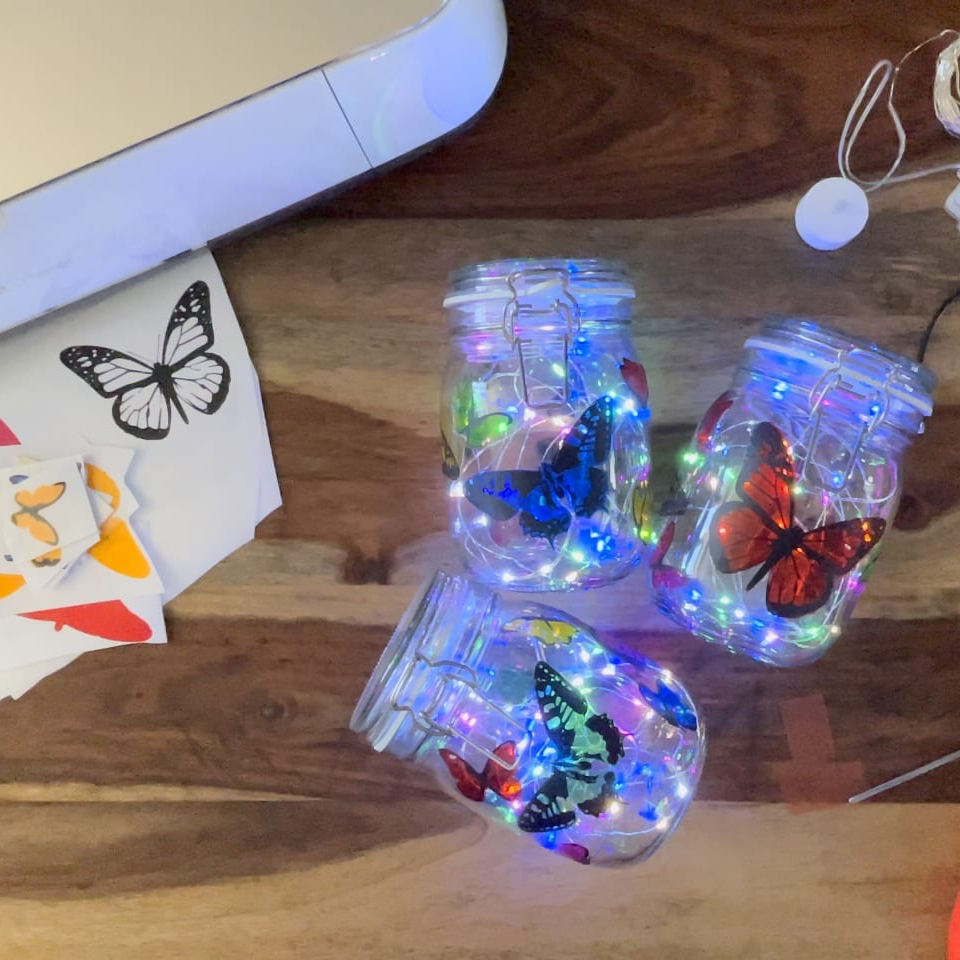
What you'll need:
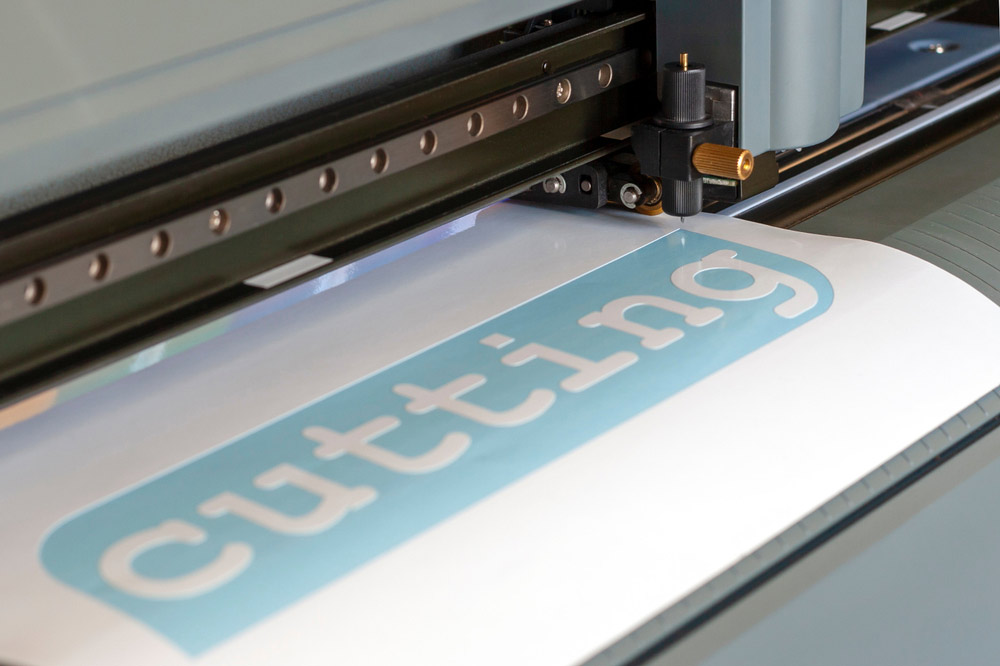
Cut maker . Available
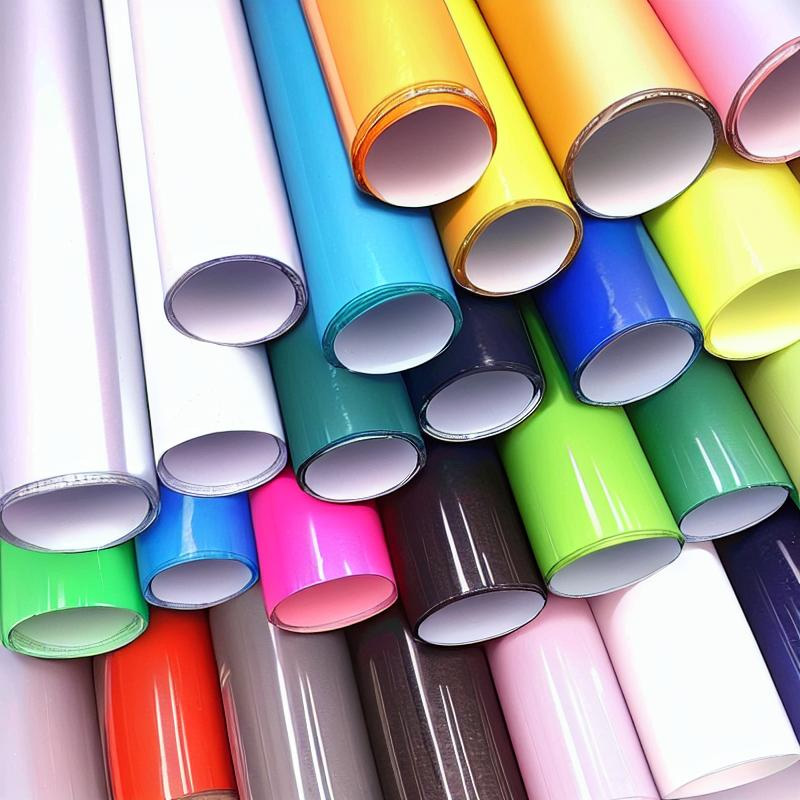
Stained glass Self adhesive Vinyl Starter Kit Available here or available individually
Transfer tape. In the starter kit or Available.
Matt self adhesive Vinyl. Available.
Self adhesive double sided red Application tape
LED weeding pad. Available.
Squeegee. In the starter kit or Available.
Weeding tweezers .In the starter kit or Available.
Scissors.
Glass Jars
Rubbing alcohol and lint free cloth
LED battery craft lights Available
Cut files, links to create with your own image, are free below! Including Silhouette. Cricut and Brother instructions to follow at the end.
Butterfly Stained glass files click here
Instructions:
1. Before you start, you need to download the cut files for your machine above.
2. Upload each PNG into the design space. Click “Upload Image” on the left-hand Design Panel, and navigate to the files you want to open. Select ‘Insert image' and select image type ‘simple' when prompted. Next you'll be asked to delete any space that does not get cut, you can skip this part by pressing ‘continue'. When asked if they're print-then-cut images or just cut images, select cut images. Click save and do this for all cut files. When all have been uploaded, Insert all the images onto the canvas and resize to suit your project. When re-sizing for this I bring the design together as it will be on the project so I can then get the entire size in one box so I get the over all design size correct with no hassle. I also for this project coloured all the base of the butterflies Black and the Top layers Grey, see blow, to change layer colours choose in area circled in green. I then colour each layer grey or black so that when I go to choose “make it” they will all be individually placed on 2 mats so I can choose each one individually to cut without having to keep going back to the main screen as below.
3. Choose 5 different colours from the Stained Glass sheets as above, proceed to make it, and either cut each layer separately (so choose all the top layers and hide the bottom layers) or choose as below, bring them in as below to save you going back and forth and cut each layer 5 times, using the coloured sheets for the bottom (black layers on the screen) and Black Matt self adhesive for the intricate top layer detail.(grey layers on the screen below) See below. Click Make it.
4. Next you need to load your mat with material on. I used the Cut setting – Stained Glass Vinyl—- Cut setting – Premium Vinyl , Pressure setting-Less. Please remember to test cut if you have not used this vinyl. Again proceed to make it. Remember to do this step for all 5 colours, but be aware to choose the correct layer before you press the Cricut button on the machine, as it will default to alternating between cutting this layer and then the next layer and back again so you have to choose the correct layer before pressing to go on the machine each time.
4. Next you need to load your mat with the Matt Self adhesive Vinyl on, I used the Cut setting – Premium Vinyl , Pressure setting-Default . Please remember to test cut if you have not used this vinyl. I filled the whole mat with this, so that after the first cut, I could turn the mat around without removing the vinyl and cut the other end, and then only half the sheet for the 5th sheet. Again proceed to make it. Remember to do this step for all 5 repeats of this layer in black, but be aware to choose the correct layer before you press the Cricut button on the machine, as it will default to alternating between cutting this layer and then the previous layer and back again so you have to choose the correct layer before pressing to go on the machine each time.
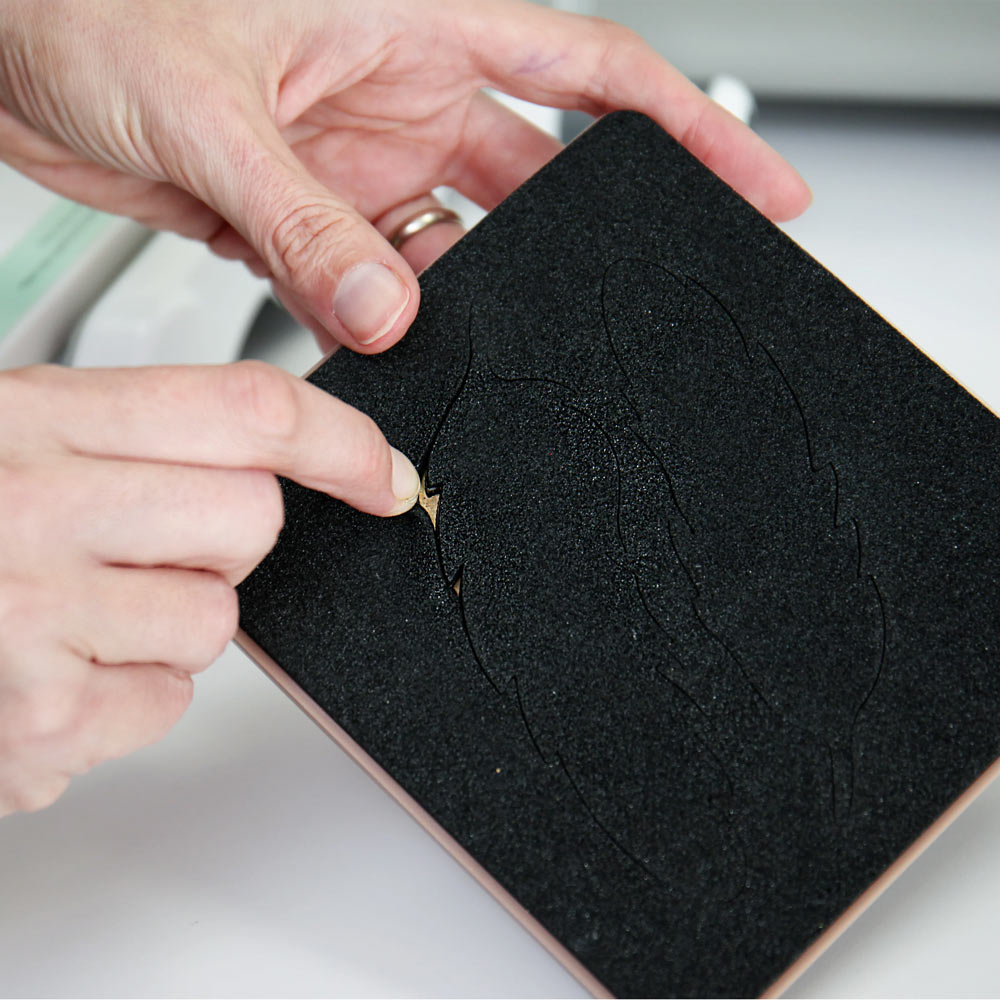
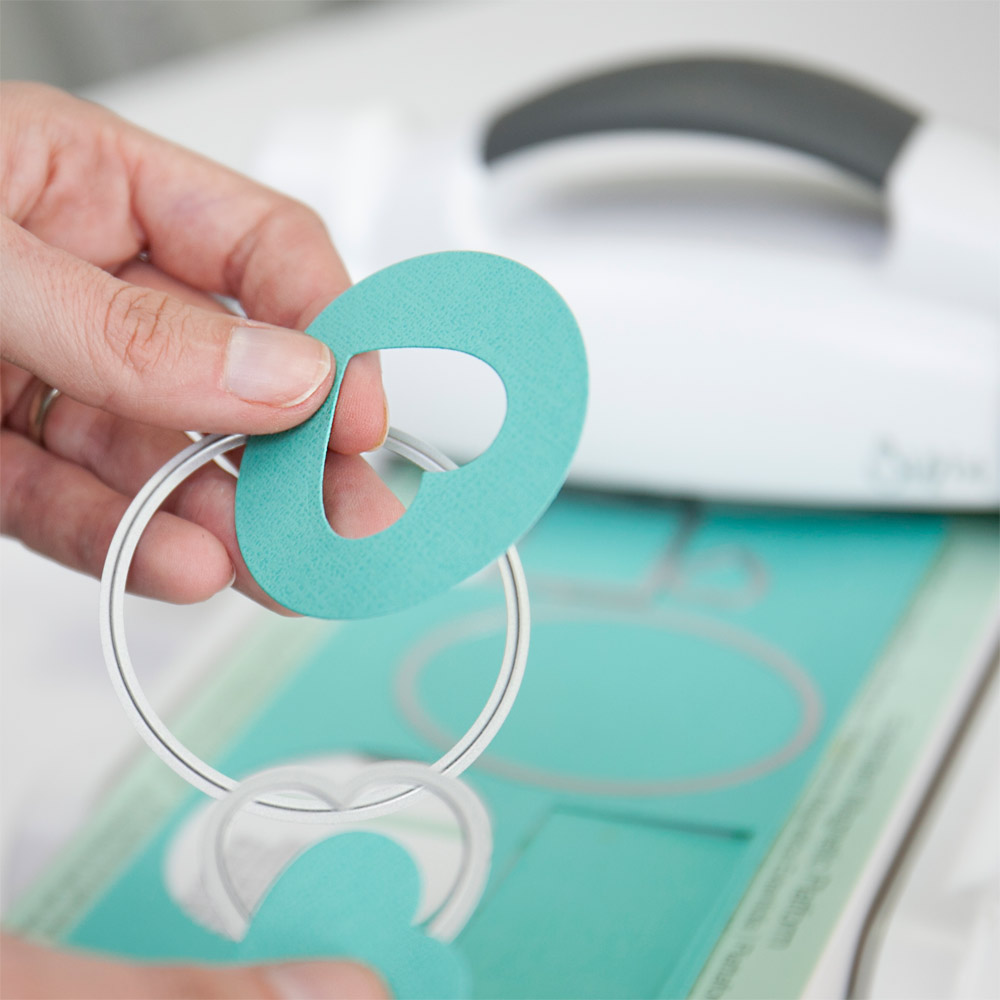
6. Proceed to trim the excess uncut areas away from all 5 colours of Stained Glass Vinyl and the 5 Matt Black Vinyl, before proceeding to weed all the unwanted vinyl.
7. Next get some of the reusable Application tape. Peel the yellow backing away and lay it on the table Sticky side face up.
8. Place 1 of the black butterfly layers face down onto the sticky side of the sheet. smoothing out from the middle to each edge with the squeegee firmly.
9. Peel the backing sheet back on itself do not lift it off to remove.
10. Next take one of the stained glass sheets and layer the black layer attached to the application tape over it, with the sticky side on to the coloured front of the butterflies.
11. Take your squeegee and burnish the front to ensure a smooth finish, before turning over to rub it on the back to transfer it on to the application tape.
12. Again peel the backing sheet back on itself to remove.
13. recover the back lightly with the yellow application tape backing removed in step 7.
14. Take your rubbing alcohol and cloth and proceed to clean the Glass jars, be sure to let it dry completely before proceeding.
15. Cut the butterflies ready to apply.
16. Apply one at a time, holding in your hand gently place the centre first, before rubbing from the middle out with your fingers to ensure a smooth application, be sure once applied to give it a firm rub with your finger side or squeegee to activate the adhesive. Remember it takes 48 hours to reach optimum adhesion. When removing the application sheet, peel backwards on it's self.
17. Continue as above with the remaining butterflies, until you are happy with the spacing, we have deliberately given you more than you need, I was able to also decorate the Lantern in this post with what I had left.
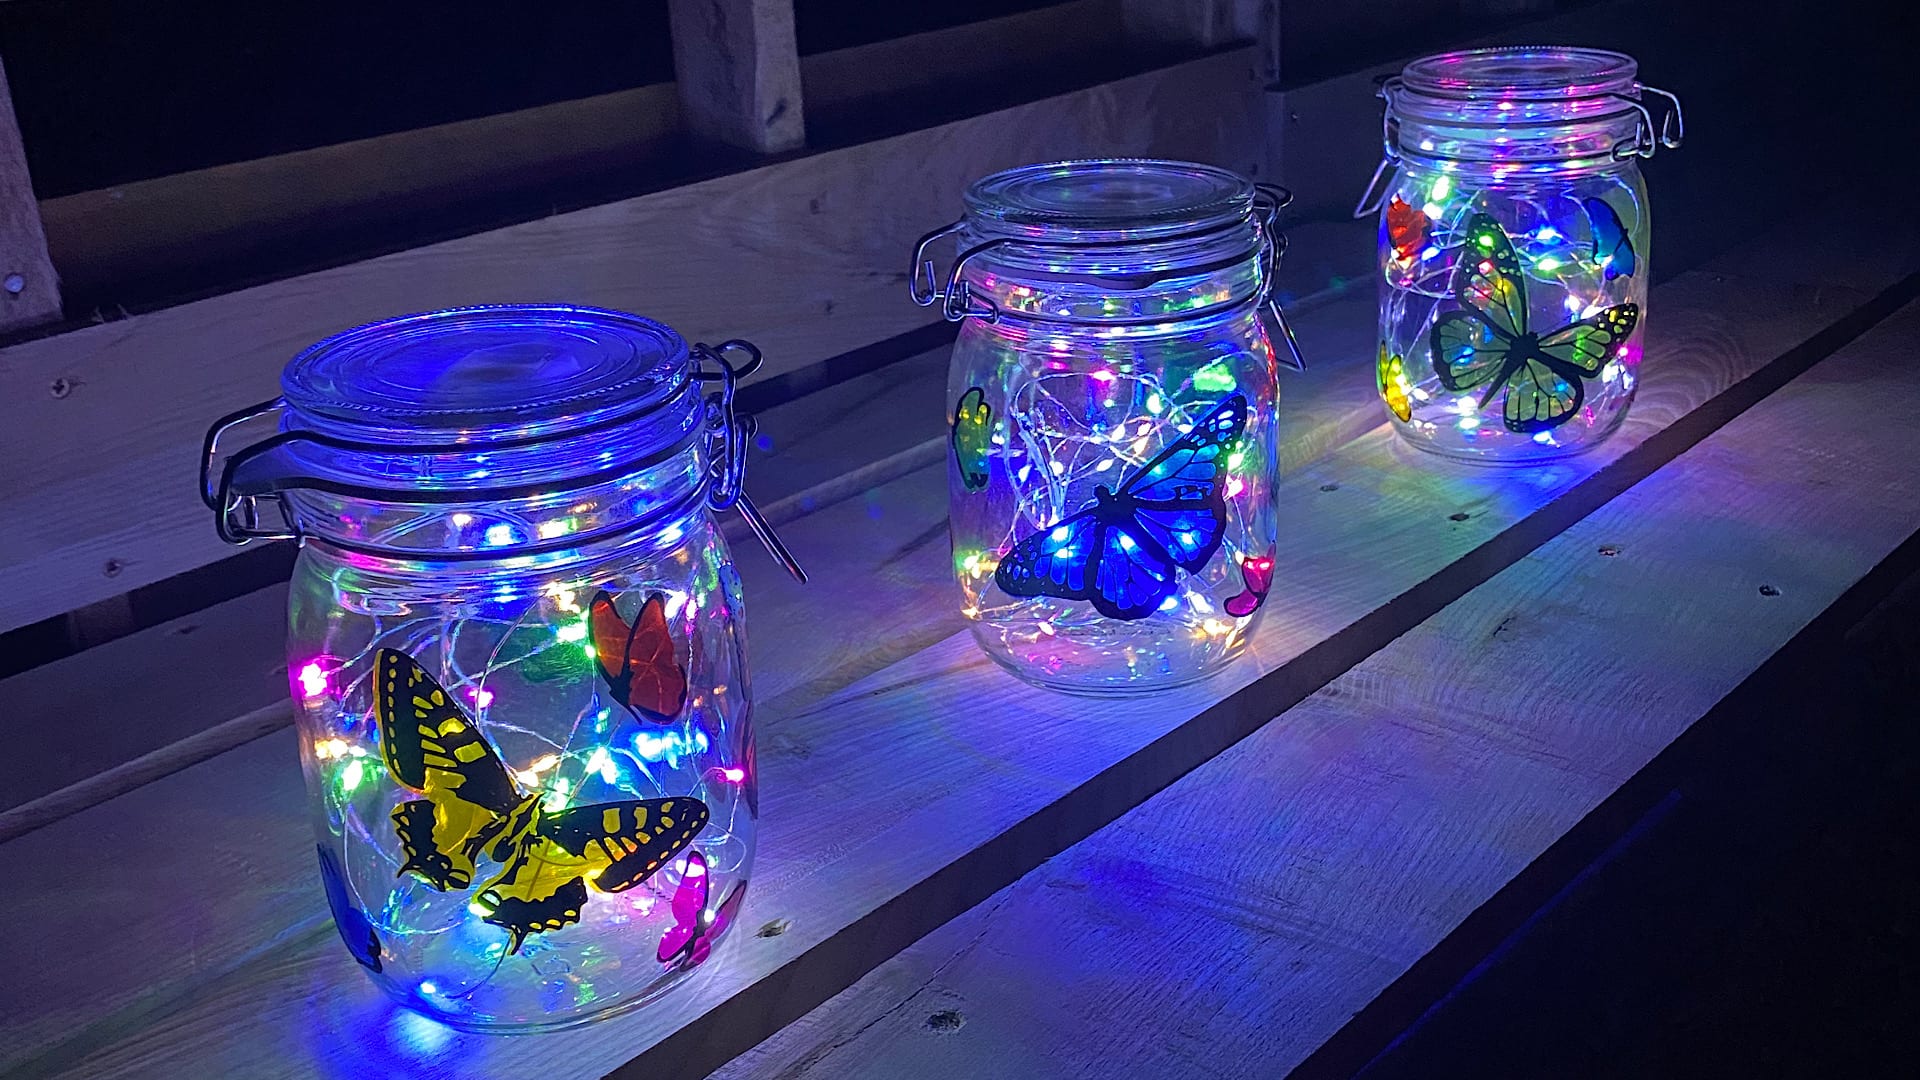
18. Once you are happy with the outside, it's time to light them, you can use a variety of things for this. I used craft lights as you'll see below, but I also could have used Battery operated T-lights, or even LED Candles like I have in my lantern. I unwind the string of lights first and straighten them, before then feeding them into the jar. I use our super strong red tape to stick the battery pack to the lid, which enables me to use them anywhere I want.


 China Import and Export Fair
 Focus On Products