


 China Import and Export Fair
 Focus On Products
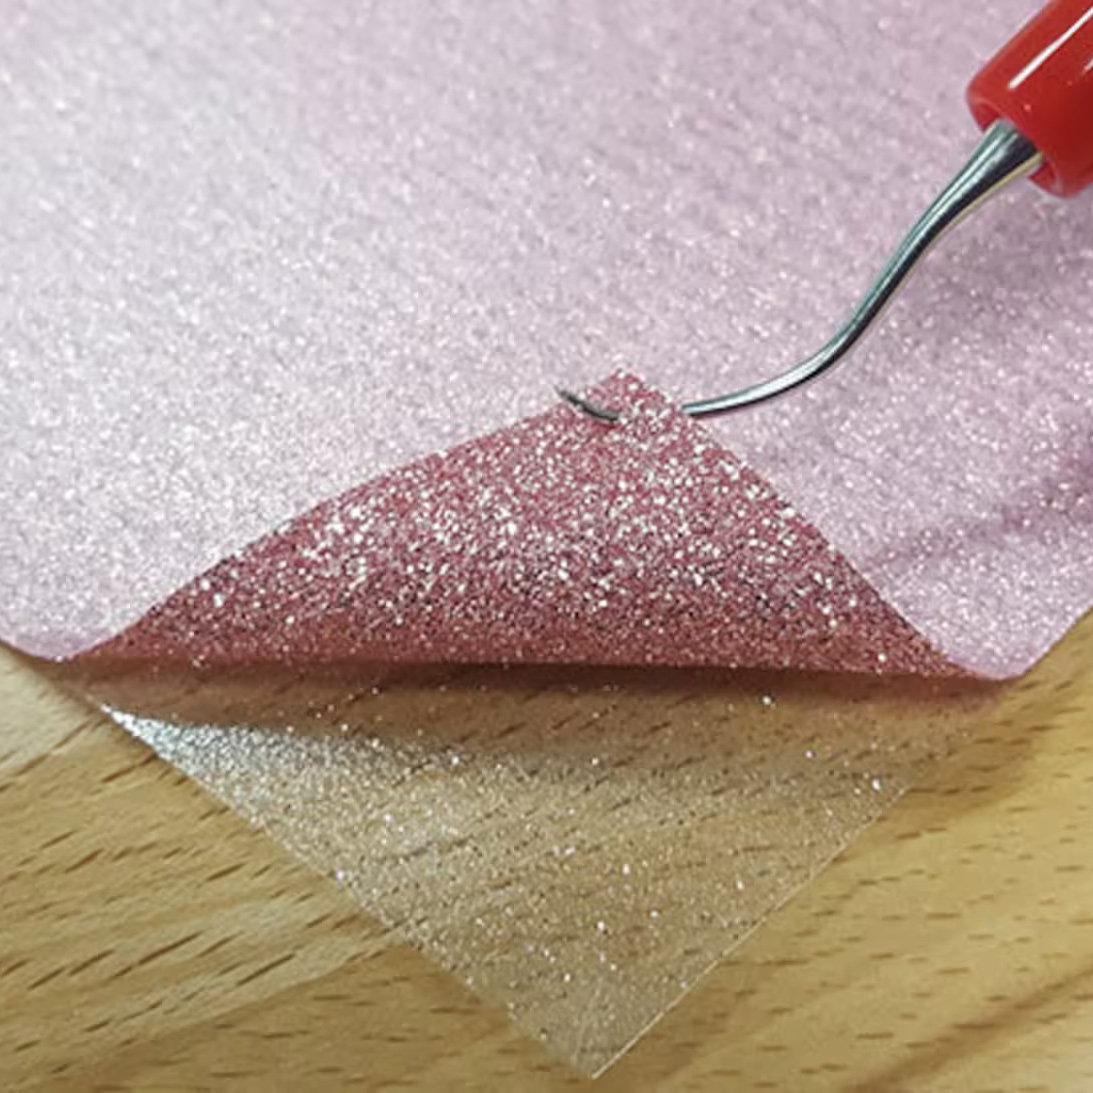
Heat transfer vinyl...it's wonderful however one thing thus straightforward will bring such joy (and stress)!
Well, girls and gentlemen, I'm here to indicate ways to use Siser HTV sort of professional. there is no got to stress out over heat transfer vinyl. it's even as straightforward to chop and apply as regular adhesive craft vinyl, and therefore the artistic potentialities square measure endless!
")
Here's what you wish to urge started:
Heat Transfer Vinyl
Heat (home iron or heat press)
Fabric...or wood, or ceramic ware, or extremely something which will face up to 300°F for fifteen seconds...
Step 1: Flip (Mirror) Your Image
To "mirror" your image, you merely got to flip it horizontally in your style code.
This is, while not a doubt, the foremost crucial part of beginning your project. Nothing, and that I mean NOTHING, is as heart-breakingly frustrating as having simply enough vinyl to create a shirt that your child is expecting to wear to high school within the morning, disbursal all evening scrolling through your FB groups/Pinterest for inspiration, obtaining it all designed and so cutting it out solely to understand you ne'er reflected your vinyl! thus say it with the American state, "I can mirror my image before cutting."
Ok, I feel higher, we will move...
Step 2: Cut & Weed
The goal once cutting heat transfer vinyl is to not get over the clear carrier sheet (shiny side). This plastic sheet acts like transfer tape, keeping your style tacked right down to your cloth whereas pressing. It additionally protects the material from the direct heat of the press or iron.
(You may also see that I simply load my vinyl straight into my machine. Personally, I notice cutting mats to be an enormous pain in my rear. The key to success once cutting while not a mat is to create certain you progress your right-hand roller guide into the center notch (if employing a Cameo). transferral the guide in helps keep the vinyl from wriggly everywhere.)
Once your vinyl is all cut, take away all of the surplus vinyl from around your style. This step is thought of as "Weeding".
Step 3: Pre-Press Your cloth
To get the simplest doable results, you're attending to wish to urge that cloth nice and heat before trying to use the vinyl. Heating up the material reveals the fibers, permitting the adhesive from the vinyl to essentially absorb into the fabric throughout the press.
So plow ahead and press your cloth for 2-3 seconds together with your iron/heat press...or if you are feeling lazy, merely throw it within the appliance whereas your vinyl is cutting and pull it out once your iron has reached temperature.
Step 4: understand Your Settings
Temperature + Pressure + Time = Happy Dance
Fairly often I hear folks confused at why their vinyl is not sticking out and so follow that grievance with, "and I had the warmth up all the method and ironed for two minutes..." Say What?! Hotter + Longer isn't the instruction for success!
Not all vinyl has a constant heat setting, and it's crucial to your success to follow your manufacturer's heat setting recommendations. Typically, a cotton-blend setting can work for many Siser HTV materials, however, to assist you, we've listed the proper heat settings on every of our heat transfer vinyl product descriptions.
The next part of the HTV application equation is pressure. If mistreatment is associated with iron, you wish to essentially place your weight on the iron whereas you are pressing. don't use associate board, that has an excessive amount of concede it. Use your counter high or perhaps the room floor...just check that your pressing surface is difficult may} handle having you press with all of your might on that. If you are employing a heat press, you'll be able to use the "dollar bill test". merely place a clam in your heat-press, with half it hanging out. shut your press, if you'll be able to pull the greenback out, you wish to regulate your pressure. Tighten your platen until you cannot pull out the bill whereas it's closed.
Finally, check that you recognize the best pressing time for the clear vinyl you are mistreatment. 10-15 seconds is the excellent pressing time. you do not wish to scorch the adhesive by keeping the warmth on too long and over-pressing.
Step 5: understand once To Peel
I want a broken record here, but again, each variety of HTV is totally different. And whereas it is usually my initial instinct to tear off that carrier sheet and enjoy the fruit of my labor, I actually have to regulate this reflex. With some sort of HTV, the adhesive on the vinyl desires time to chill before trying to drag off the carrier sheet. different varieties would like you to get rid of the carrier sheet ASAP. Here's a fast reference:
EasyWeed: Hot or Cold
Glitter: heat
StripFlock: Cold
Holographic: Cold
")
Ok, thus I need to admit, that I speak a giant game however the image on top of it doesn't represent an ideal press. I used to be making an attempt to be all freelance and stuff and did not wish to raise my husband to assist take photos whereas I used to be pressing the vinyl. I terminated up additional involvement concerning obtaining an honest image than ensuring I had ironed arduous enough.
Ideally, once employing a diluent vinyl, like EasyWeed, you ought to be able to see the fibers of the material within the vinyl...it should not appear as if it will be on top of like it's sitting on high of the material. And before I provide this as a present, I will be able to take my Teflon cowl sheet and quickly press it once more for 5-10 seconds.