Now you are ready to start making some magical things with adhesive vinyl. You can get step-by-step.
Instructions to start with adhesive vinyl. In the following tutorial, you will find all the details on how to create vinyl decals!
Before making vinyl decals, you need to prepare some supplies.
Electronic cutter (Cricut or Silhouette cutting machines)
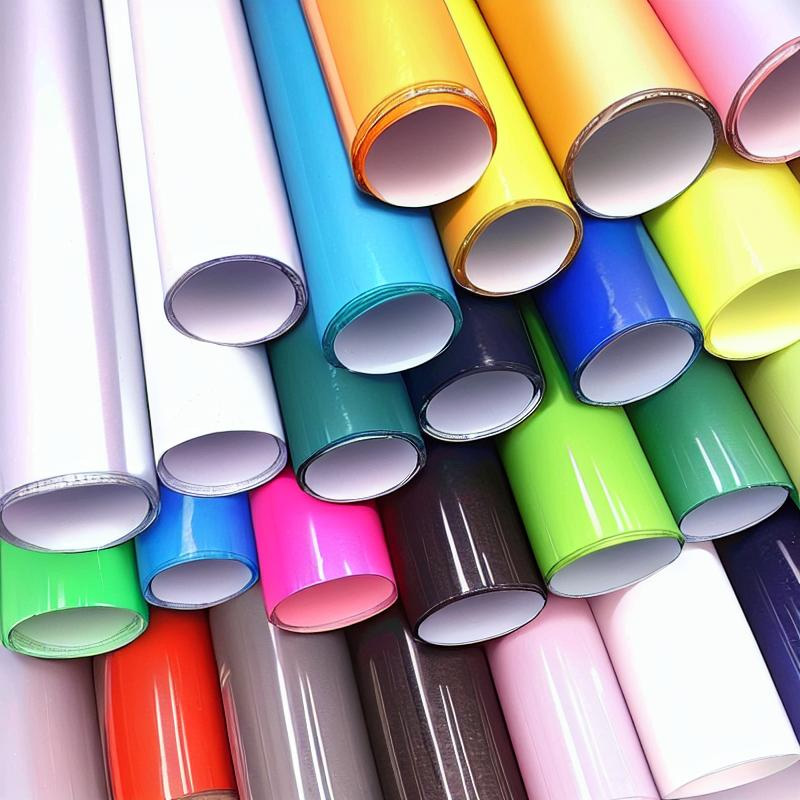
Adhesive Vinyl
Transfer tape
Cut file(SVG)
Cutting mat
Weeding tool
Scissors
How to use adhesive vinyl? The following simple steps are involved when using vinyl adhesive: preparing the design, cut, weed, apply the transfer tape, and then transfer the design to the blank.
The first step in using vinyl adhesive is to be ready to cut your design files. You need a special file to be used with the cutter, usually an SVG file, in order for the cutter to cut your design. Check out our free SVG file. After you select the design and open it in a software program on your computer, you will need to scale the design proportionally. You need to measure the surface and determine the size of the design to be cut.
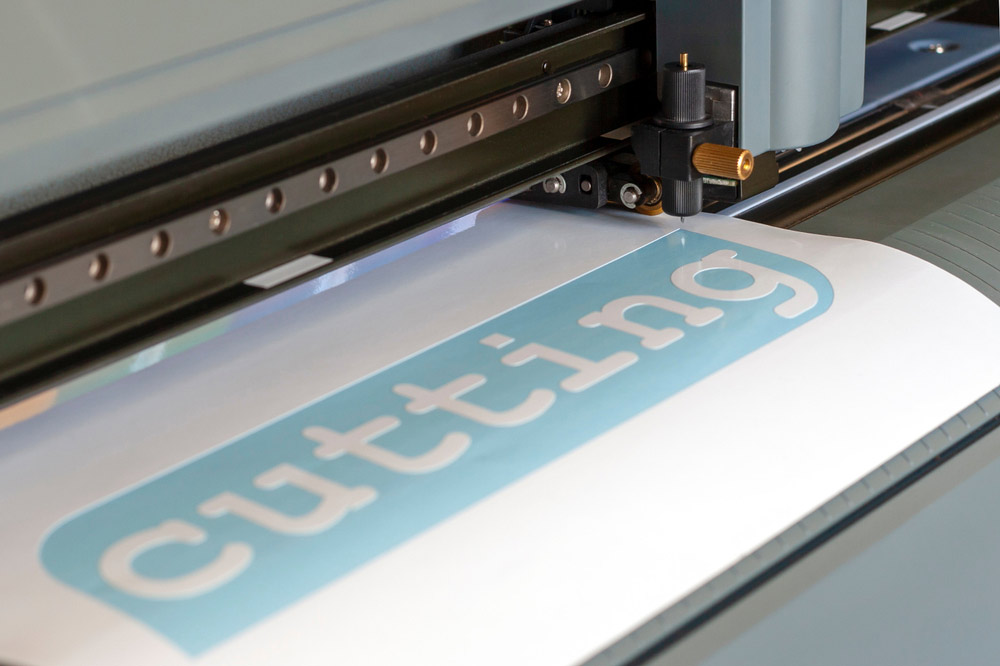
How to cut adhesive vinyl
After you have designed the dimensions and are ready for use, you need to prepare the vinyl to be cut. Place the vinyl adhesive on the cutting mat with the paper back down. Then load the cutting mat into the machine and press the start button. Some machines can automatically adjust the blade to suit the different types of materials they can cut. Other machines need to be adjusted manually. Choose the setting that suits your vinyl, and then send the design to your machine for cutting.
How to weed adhesive vinyl
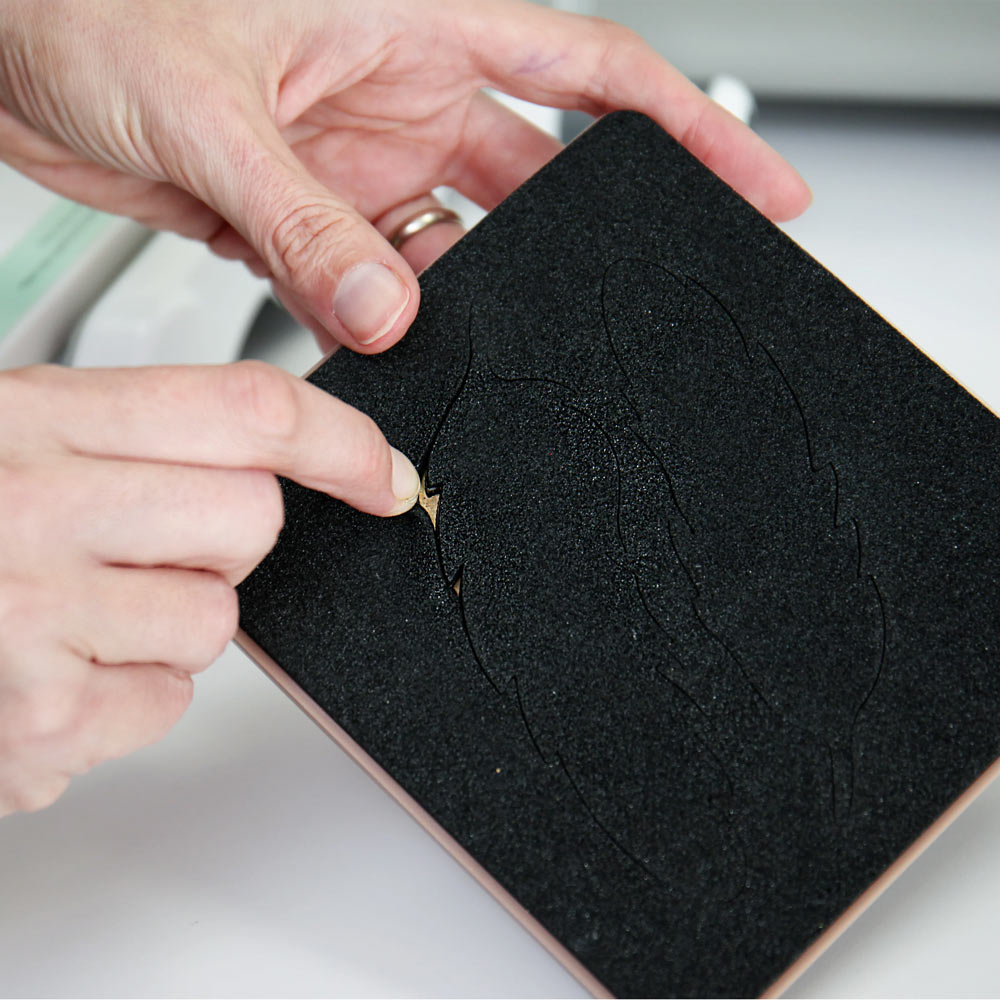
After the machine completes the cutting design, please remove the cushion and vinyl from the machine. Remove excess vinyl from around the cut image, including any internal debris.
How to use transfer tape
It's time to move the vinyl design from the paper back to the final surface. The fastest and easiest way to transfer everything at once is to use a transfer tape or transfer paper. For this, you only need to cut some transfer material that is slightly larger than the design. Use a scraper tool to put the transfer tape on the vinyl. Now you can remove the vinyl backing.
How to apply adhesive vinyl
Now transfer your design to your cup or other items. Before applying vinyl to the blank, make sure the surface is clean and smooth. You can use alcohol or wet wipes to wipe the clean area and remove grease. After drying, carefully stick the vinyl decal on the surface and use a coating tool to smooth it. Use your fingers or a spatula to apply pressure on the vinyl to make it stick to the cup. Slowly begin to remove the transfer tape. If you find that the vinyl is not fully adhered to the surface, put down the transfer tape and apply more pressure until it is fully adhered. Finally, remove the transfer tape from the decal and you are done!
It is best to "curing" the vinyl adhesive on the cup for a few days before use, and then when washing the cup, please make sure to wash it by hand and avoid scrubbing directly on the decal.
Now that you know how easy it is to use adhesive vinyl, I hope you try to create your own vinyl decals and start decorating everything you handle! Happy Crafting!
Check out our most popular adhesive vinyl below.


 China Import and Export Fair
 Focus On Products