


 China Import and Export Fair
 Focus On Products
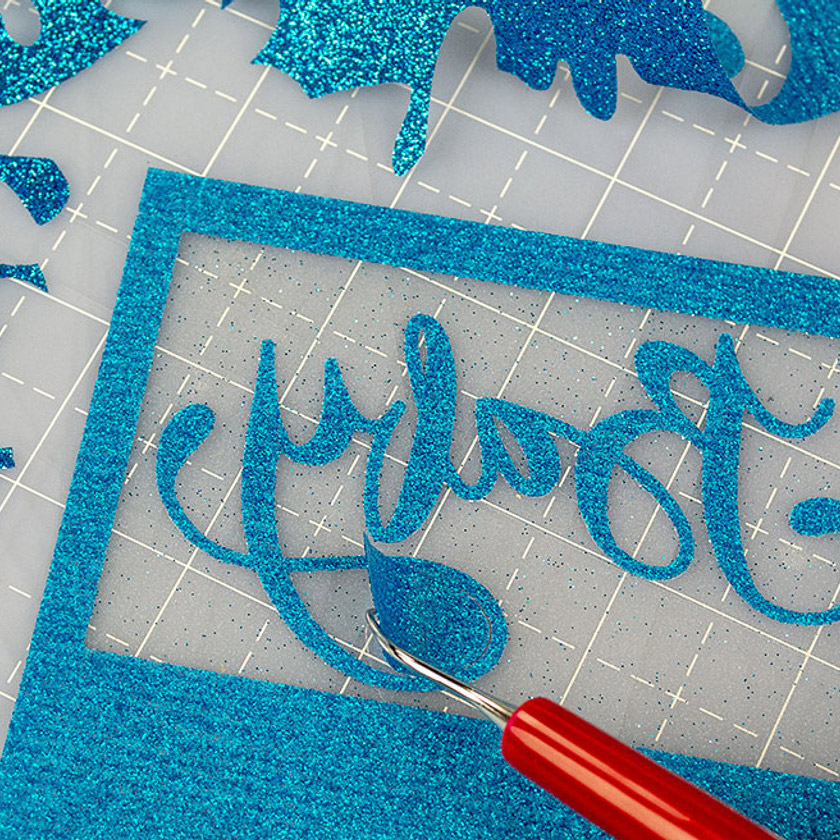
Glitter Heat Transfer Vinyl provides MAXIMUM sparkle without shedding any glitter flakes. Any glitter fan will absolutely fall in love with this material! It is easy to cut, weed and apply. Plus, it's CPSIA certified so it's perfect for decorating children's clothes and accessories!

Proper Sizing & Placement for your Heat Transfer Vinyl Designs - FREE GUIDE
Before you cut & press your heat transfer vinyl design, you will need to properly size it for your shirt. While the final size of your design, and where you place it, will ultimately depend on your personal preference, we have developed a guide to help give you a baseline of what is commonly done.
We have included recommendations on how big your design should be and where it should be placed from the neckline on infant, toddler, youth, adult and plus sized t-shirts. Remember this is just a guide - your (or your customers') personal preferences could be for a larger or smaller designs, but this will give you a good jumping off point.

Placing Heat Transfer Vinyl Tip: Fold in Half
For crafters struggling to find the center of your garments and properly place your designs, we have really great trick to help.

Start by folding your garment in half longways. Lightly press or iron the shirt where you folded it in half. When you unfold your shirt, you will be left with a line that you can use as your center point. You then fold your design in half (sticky side out) and crease the top to create an indention in the carrier sheet. Then you can line up the crease with the line on your shirt. This is a pretty fool-proof method for finding the center of your shirt. Since each shirt can vary slightly due to manufacturing, this is the best way to center and place HTV designs. And it works for more than just shirts! You can use this method for other garments, garden flags, canvas and more!