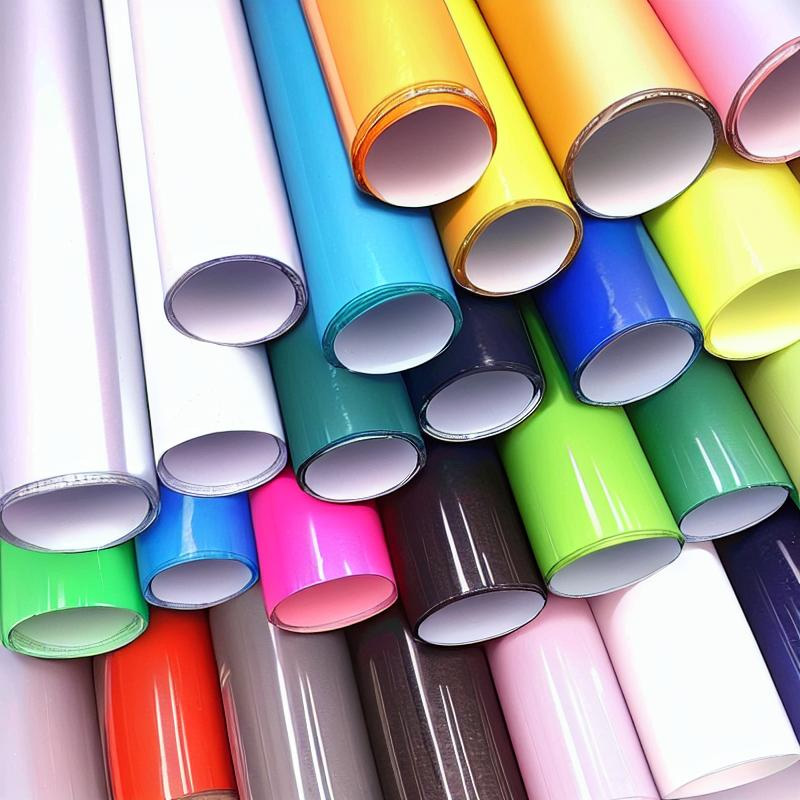
PU Heat Transfer
05 Jan 2023

GUANGDONG HEYI, a professional manufacturer and supplier of the self-adhesive vinyl, printable, heat transfer and other cutting materials for digital cutting,home & office décor, car & window decals, crafting and DIY, scrapbooking and card-making, embellishing & advertising, fashion and garment ornamenting, etc.
We offer a set list of available color options to choose from within the Design Tool itself, but we can match any other colors available up to 99% of the time. If you have a specific color you'd like us to match during production, let us know in your Order Comments when you place your order. Ideally, you'll want to include the color code you need us to match and we can take care of that during our Pre Production set up.
If you are looking for a color, shape, size or something else in particular that you haven't found on our site, feel free to contact us with your ideas. We take customer requests as the first line of consideration when setting up new products.
The vinyl film, being thermoplastic, is sensitive to temperature and this reflects also on the cut.
Temperature low = film hard
Temperature high = film elastic.
In both cases a blade in good condition is recommended.
In the morning a PVC film is always harder due to the lower night temperatures: the PVC being a thermoplastic is sensitive to temperatur influencing the workability of the film with cutting, removal and application. If possible it is advisable to keep the temperature of the warehouse never below 15-18°C.
When a self-adhesive film isn't flat, the reason is to be found in the humidity of the room being too high or to the contrary to a environment that is too dry: the quantity of water present in de room has enourm influence on the siliconed paper that for it's nature tends to absorb or release the water present in the fibres. To solve this problem it is advised to keep the film in rooms with temperature and humidity as stable as possible, and to let it get used to the conditions of the new room for at least 24 hours. It is important the keep the film in the polythene bag: it signifies protect it not only from dust but also from brusk temperature-changes.
A kiss cut is a cut that only goes through the material, and leaves the liner intact. This is applicable for adhesive backed materials like vinyl, iron-on, washi sheet, etc.
Heat the film with a hairdryer on the coolest setting. Gently smooth the film and press it onto the surface as you warm it. Make sure you don't pull the film too hard whilst it's warm as it may overstretch. We recommend that you try it a few times with a sample or an off cut first until you get the technique right. You may want to use a glow or sock on your hand to protect your fingers from the heat.
Should there be any bubbles after applying the film you can either:
gently lift the film until you reach the bubble and start smoothing down the sticky back again using your squeegee; or
if close to the edge, try to smooth out the air using your squeegee; or
gently pop the bubble with a small sharp needle and smooth out the air through the hole.
Start by placing the film with the backing paper on the surface (the grid system is facing the item and the sticky back plastic pattern is facing you). Make sure that you have an overhang on all edges.
Gently peel away a small part of one corner and pull the backing paper slowly downwards. Now place the exposed sticky film on the surface. Don't forget to allow for the overhang. Use your squeegee to smoothen down the film. Start from the centre and work your way out to each side in order to avoid air bubbles. Now the sticky back plastic is stuck to a small part of the surface and won't glide around.
Now slowly pull the backing paper with one hand and whilst you smooth the film on to the surface with your cloth or squeegee. This is the tricky part so it pays off to take extra care. If you make a mistake you can easily remove the film and start all over again. The idea is to pull the backing paper as you go and only expose a small part of the sticky back at the time. This is to allow for a smooth and bubble free surface and to avoid the sticky back to stick to unwanted surfaces and tangle.
When you are happy with the result, use your sharp knife and gently cut off the overhang.
Place the film in front of you with the printed grid system up. Use the grids for straight lines and mark with a pen your required shape. Allow for about 5cm extra on each side as it may be tricky to place the film exactly where you want it to be. The extra centimeters can easily be cut off with your sharp knife once the film is applied to your chosen surface.
The film can be applied on almost any clean (dust and grease free) flat surfaces like walls, doors, appliances, furniture, bench tops, cupboards, windows and anything else you can think of. If applied on untreated wood like chipboard or plywood, we suggest you use a sealer or primer on the surface first. If unsure if the vinyl will adhere to the surface it's always best to order a small sample first and try it on the surface.
These surfaces are OK:
wood
worktops
flat glass
laminate
flat wall tiles (not the grout)
laminate
veneers
marble
metal
painted/plastered walls
plastic
mirror
primed MDF
Radiator covers
Avoid:
brick wall
stone wall
embossed / bevelled glass
dirty surfaces
wet areas e.g showers
fire surrounds
damp surfaces
raw MDF
radiators
floors