PU Heat Transfer
05 Jan 2023

GUANGDONG HEYI, a professional manufacturer and supplier of the self-adhesive vinyl, printable, heat transfer and other cutting materials for digital cutting,home & office décor, car & window decals, crafting and DIY, scrapbooking and card-making, embellishing & advertising, fashion and garment ornamenting, etc.
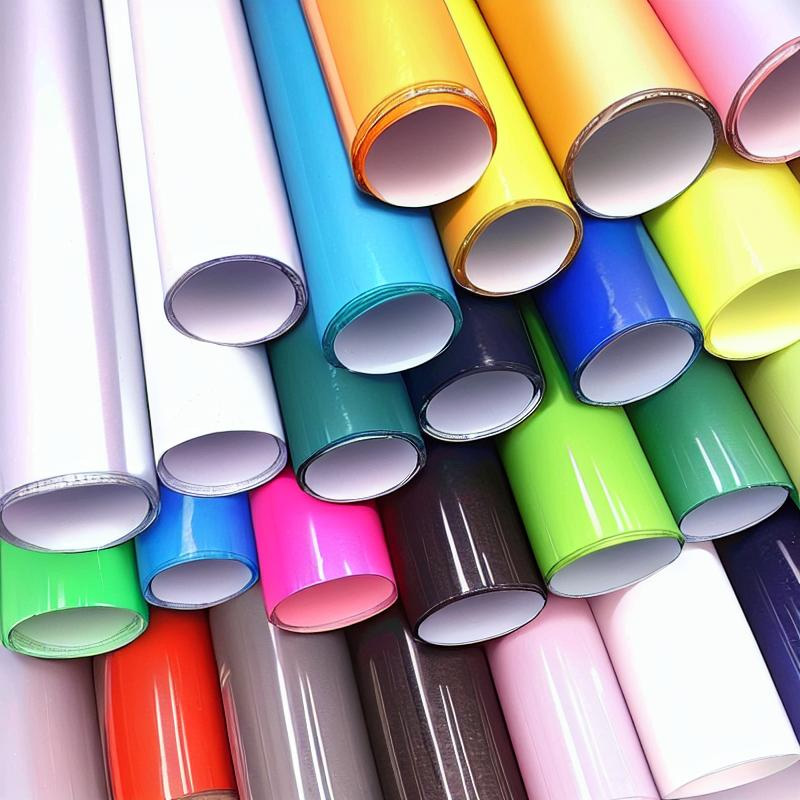
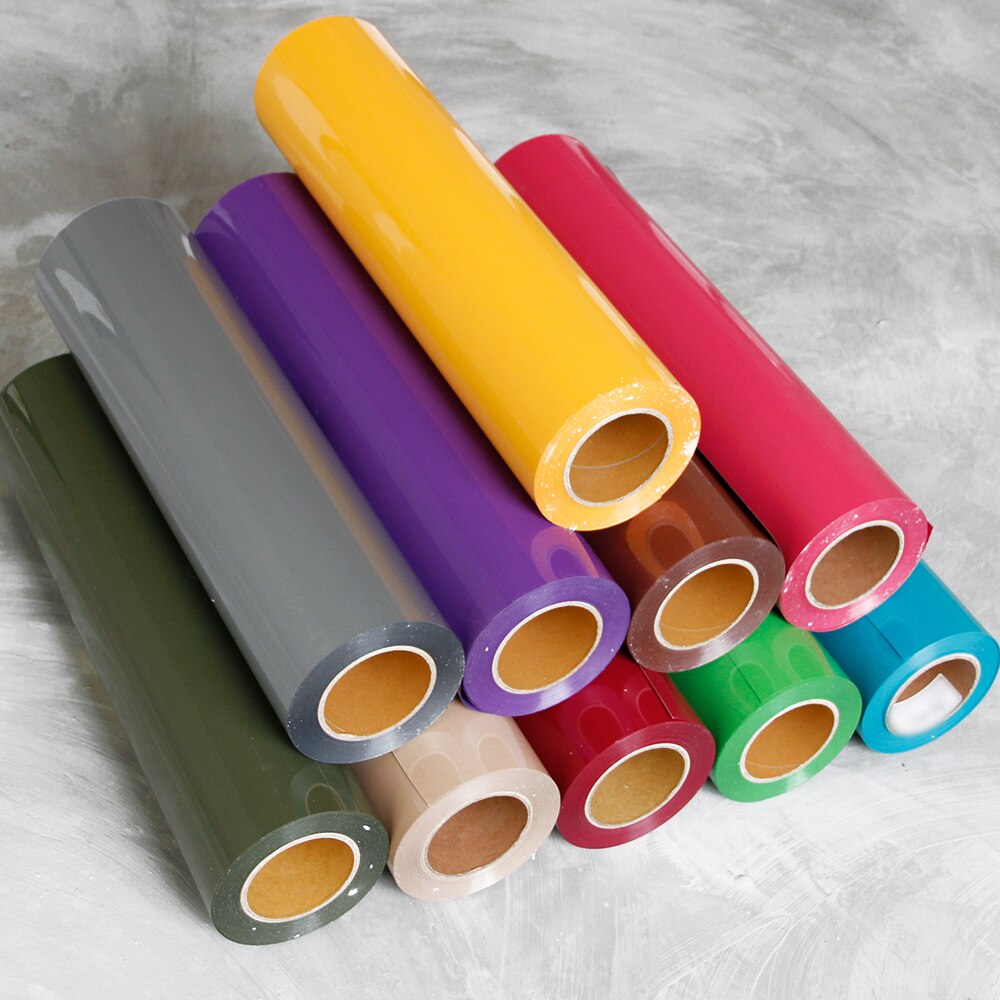
There are many different finishes of Heat Transfer Vinyl, including the following:

T-Shirt HTV: Block standard, pastel and fluorescent colours for standard fabrics.
Stretch HTV: Block standard, pastel and fluorescent colours with extra stretchability.
Subli-Dye Blocker HTV: Block standard colours with the ability to prevent dye migration from polyester-based fabrics.
Silicone HTV: Block standard colours with the ability to prevent dye migration from polyester-based fabrics, along with a raised, silicone-based feel for an on-trend finish.
Glitter HTV: Glitter flecks in particular colours that glitter and sparkle.
Flock HTV: A velvet-like finish which is a popular alternative to standard HTV.
Holographic HTV: Add a holographic-like sparkle to designs.
Reflective HTV: Highly reflective and is EN471 European safety standard compliant.
Foil HTV: Base adhesive for use with Heat Transfer Foils to create metallic-like effects.
Step 1: Make sure the surface is clean and smooth.
Step 2: Measure the application surface to align the holes with the suction cups.
Step 3: Remove the plastic backing pieces from the suction cup.
Step 4: Make sure the tabs are pointing out and press softly onto the surface.
Step 5: Pull the tab and push down the center to let the air out.
Step 6: Push down around the cup with a finger to seal it completely.
Step 7: Hang your PVC sign from the hook.
Step 1: Take one of the easel backs and fold the wing inward to cut open the pre-dotted area.
Step 2: Repeat the same action on the other easel back.
Step 3: Fold down the circular easel stabilizer.
Step 4: Secure easel wings into the slots on both easel backs.
Step 5: Peel the tapes off the adhesive bands on both easel backs.
Step 6: Position them on both sides of the product and press for a few seconds to secure.
Step 1: Wipe the dust off the surface on which you intend to place the product.
Step 2: Make sure the surface is dry and grease-free.
Step 3: Separate the strips and press the fasteners together until they click.
Step 4: Remove the backing liner from the fasteners and position it on the back of the PVC frame.
Step 5: Press the fasteners at the top two or at all four corners and remove the backing liner.
Step 6: Position the PVC frame onto the wall and press for 30 seconds.
Step 7: Remove the frame and press each fastener for another 30 seconds.
Step 8: Wait for an hour so that the adhesive of the strips bonds to the wall and frame.
Step 9: Mount the frame back onto each set of fasteners.
Removal:
Step 1: Grab the bottom corners of the frame and pull the frame off the wall.
Step 2: Press the top of the adhesive strip and pull the tab until it comes off the wall.
Step 1: Drill holes on the application surface that match the pre-drilled holes of your PVC sign.
Step 2: Insert the wall anchor for the standoff into the drilled wall.
Step 3: Screw the standoff barrel into the wall anchor.
Step 4: Place the PVC sign onto the standoff screw and fix it on with the cap.
There is nothing more frustrating than HTV that doesn’t stick. Applying vinyl on T-shirts is simple but can still have minor issues. If you’re in the sign-making business, the transition to HTV cutting can be tricky at first. Or, if you are new to T-shirt personalisation using HTV, the learning curve can be slow.
In this post, we will talk about the most common problems of heat transfer vinyl and give you the solution to these difficulties. We have grouped these issues into three main groups: sticking problems, colour migration problems, and cutting or weeding problems.
1. Why isn’t my HTV sticking to the fabric?
1.1. Sticking problems during application
1.2. Sticking problems after application
2. Colour-migration problems
3. HTV cutting problems
Why isn’t my HTV sticking to the fabric?
One of the most common problems is that heat transfer vinyl can come off the garment where it’s supposed to stick. This can happen at the beginning of the application process or afterwards.
Sticking problems during application
Sometimes, after pressing the vinyl, the letters or the design that has just been transferred to the garment will come off when removing the liner. This usually happens due to a lack of pressure at the time of pressing. We usually adjust the time and temperature correctly but increase the pressing time if the HTV doesn’t stick. Instead, we should increase the pressure.
1. The heat press works by adjusting the time, temperature, and pressure. Depending on the vinyl, you will need to apply more or less pressure. You should check the product’s datasheet and follow the instructions. If the HTV doesn’t stick to the garment, increase the pressure of your heat press.
2. The presence of a coating on the fabric could also be the reason why vinyl doesn’t stick to the garment is the presence of a coating on the fabric, generally water-repellent or antimicrobial products. The water-repellent coating is usually found on tents or nylon rain jackets. Sometimes, you can remove this coating, but in other cases, we will have to accept that the surface can’t be customised using HTV.
Sticking problems after application
When the vinyl sticks initially but falls off afterwards, the problem is usually caused by incorrect application of several HTV layers or incorrect washing of the garment.
1. When applying several layers, you should use HTV with similar characteristics. If the vinyl you’re using requires to be hot peeled, you can combine it with other HTV with the same requirements. It is the same with cold peel HTV. If you’re combining HTV with a metallic effect with another vinyl, you must place the HTV with a metallic effect on top.
2. The same problem can occur if you’re not using the right HTV for the type of fabric you're personalising. For example, if you’re using general HTV onto elastic fabrics. For elastic fabrics, you should use a special HTV.
3. Another factor to consider is washing conditions. Garments customised using HTV must be washed as delicate garments, inside out and in cold water. Some HTV can withstand high temperatures, but it’s always best to wash them in cold water. Wrinkles may appear on fine HTV when applied to cotton and washed in hot water. These creases can usually be removed by ironing.
Colour-migration problems
Another common problem with HTV is colour migration, which happens when garment dyes migrate to the vinyl. This usually happens when you apply white HTV onto dark polyester or low-quality dark cotton t-shirts. The white of the design/letters turns grey. The black dye of the garment is activated by the heat of the heat press and migrates to the vinyl. In this case, we offer 2 solutions:
1. Use another t-shirt: The problem usually happens with dyed or sublimated polyester t-shirts because the heat of the press reactivates the inks. Low-quality cotton t-shirts are also problematic. Use high-quality t-shirts.
2. If you are forced to use a T-shirt that presents the problems indicated above, you can use anti-sublimation HTV that provides a more consistent texture, avoiding colour migration. Because colour options for this vinyl are limited, if you can’t find the colour you need, you can apply another layer of vinyl to get more opacity.
HTV cutting problems
Heat transfer vinyl is usually very thin, smooth and easy to cut. If your vinyl cutter has problems cutting it, it may be that:
1. The vinyl hasn’t been inserted correctly into the machine: most HTV sheets have their liners facing outwards. The sheet must be placed face up in order to cut the vinyl. If you do it the other way around, you would be cutting the liner (which is thicker and rougher) and not your HTV. If it’s the first time you’re applying vinyl, you’ve selected the right cutting force, and the machine cannot cut it correctly, turn the flex sheet over because you might be cutting it on the wrong side.
2. You’re not using the right blade: Most HTV can be cut with a standard 45º blade. But thicker vinyl or with a higher density requires a 60º blade, for example, flock HTV.
3. The blade is worn: Blades wear and tear with every cut. If you mainly cut polyurethane vinyl, the blades will last longer. However, if you cut thicker vinyl such as Glitter HTV, you’ll have to change your blade more often.
If you’re having problems weeding, no doubt that it’s a cutting problem, and it may be that:
You haven’t cut enough. You’ve probably managed to cut the vinyl layer but not the adhesive one.
With too much pressure, you might cut the vinyl, the adhesive and the liner and will probably end up removing the liner when tossing the excess vinyl.
To avoid these problems, we recommend carrying out some cutting tests and weeding the excess vinyl before launching the final project.
If the interior wall is painted, yes it will stick. But it will not stick to a concrete wall that isn’t painted, the concrete is too gritty and porous for the adhesive to stick.

If the concrete is painted it will probably stick, but removing it may peel off the paint aling with it.
It comes in different types depending on the use and quality of tack. They are usually bought by the roll.
While it might look like it’s more cost-effective to use a masking tape for example since it will serve other practical purposes at home and at your office, investing in transfer tape is still highly recommended because it is specifically designed for use with vinyl. It’s correct use will ensure ease of application of your vinyl material to your projects.
The crafting community is replete with novice and serious crafters, and most will recommend the same, and even link you to their blog to help you out. and a quick Google search would echo something similar.